See prices From 123 EUR · Free cancellation available
Contents
How to photograph the northern lights comes down to one tradeoff most first-time visitors do not expect: your eyes and a long-exposure camera see two different displays, and getting a photo that matches what you hoped for takes either the right manual settings or the right phone technique, not luck. Here is what I would actually do before your next northern lights tour: learn the four settings that matter, know what your phone can and cannot do on its own, and decide up front whether you would rather manage a camera all night or let a guide’s included photographer do it while you actually watch the sky. This guide covers both routes honestly, including when I think handing the camera to someone else is the better call.
What Camera Settings Work Best for Photographing the Northern Lights?
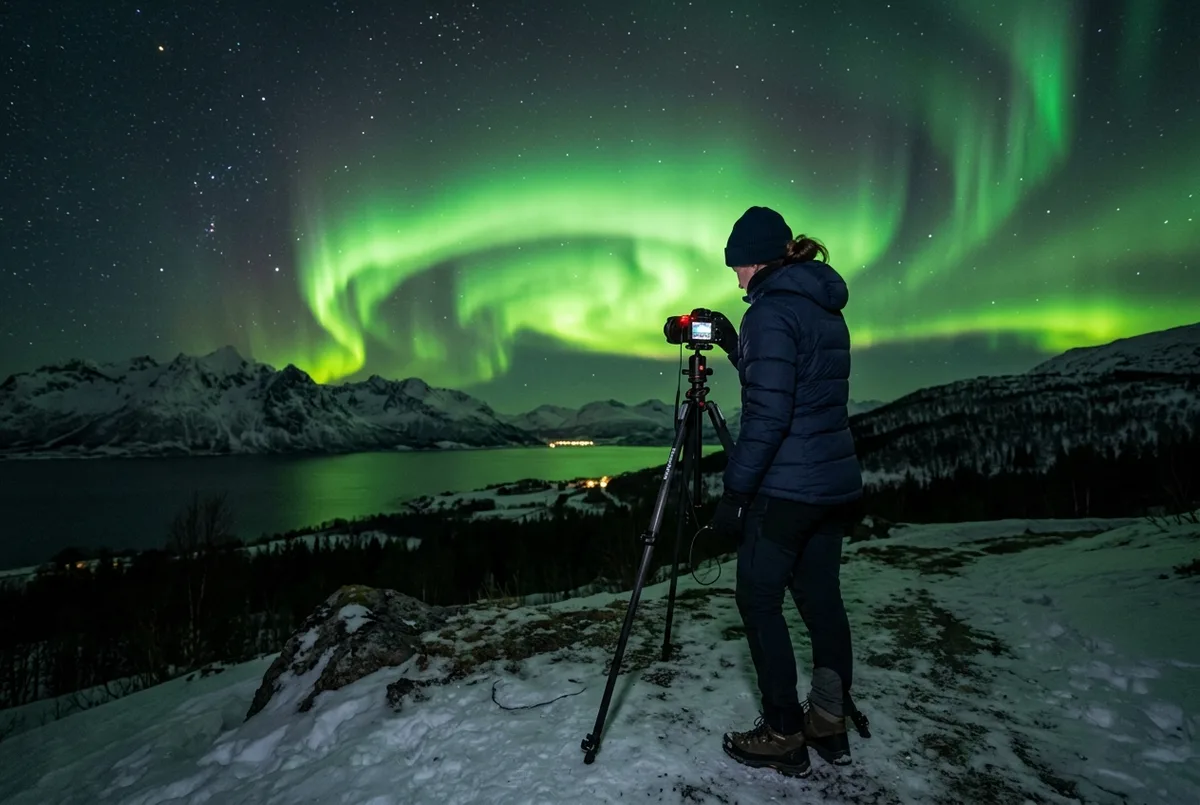
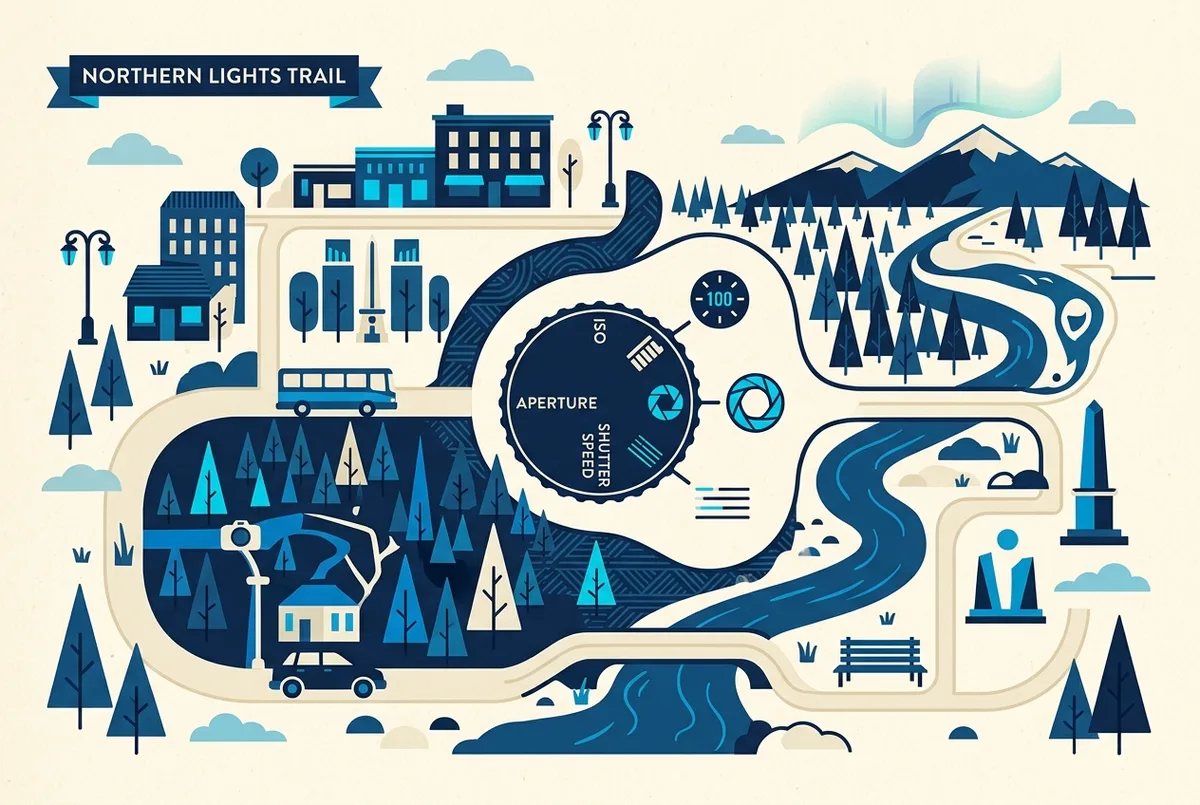
A wide-angle lens, an aperture of f/2.8 or wider, ISO 1600 to 3200, and a shutter speed of 5 to 15 seconds is the starting combination I would use, adjusted from there based on how bright and fast-moving the display is that night.
I would treat these as a starting point, not a fixed recipe. A slow, faint green glow tolerates a longer shutter speed since there is little motion to blur, while a fast, dancing display with sharp structure needs a shorter exposure or you lose the detail in a smeared streak of color across the frame.
Check prices & dates
Ready to visit?
Book your tickets in advance: popular time slots sell out.
Yes, essentially always. A shutter speed of even 3 to 5 seconds is long enough that handheld shots come out visibly blurred, and the aurora rarely appears bright enough to shoot at a fast enough shutter speed to avoid one.
I would not skip this for northern lights camera settings to work at all. A cheap travel tripod does the job fine, since you are not fighting wind or heavy gear the way a landscape photographer might on a mountain ridge, just holding a camera still for a few seconds in place.
Can I Get Good Northern Lights Photos With Just My Phone?
Yes, more reliably than most people expect, as long as your phone has a proper night mode or manual pro controls and you brace it against something solid instead of holding it freehand.
I would lean on night mode rather than fighting with manual phone settings unless you already know your device’s camera app well. Recent phones handle long exposure and noise reduction automatically in ways that used to require a real camera, and the gap between a good phone shot and a basic DSLR shot has narrowed a lot in the last few years.
What Phone Camera Settings Should I Use for the Aurora?
Switch to night mode, turn off the flash, set focus to infinity or on a distant light if your phone allows manual focus, and brace the phone against a rock, a fence post or a small tripod rather than holding it by hand.
I would specifically avoid the default auto mode, since most phones default to a flash-ready, short-exposure setting built for daylight snapshots rather than a dark sky. A cheap phone tripod mount costs very little and genuinely changes the outcome for phone photos northern lights shooters more than any other single adjustment.
What Mistakes Ruin Most Northern Lights Photos?
Shooting handheld without a tripod, leaving flash on by accident, and standing too close to other people’s headlamps or a phone screen’s glow are the three mistakes I see cost visitors the most usable shots.
I would ask your whole group to agree on no phone screens or white light near the camera setup once the aurora starts, since even a brief flash of screen light near the lens can wash out a long exposure. It sounds like a small detail until it ruins the one clear shot of the night.
Does Solar Activity Affect How Easy the Aurora Is to Photograph?
Yes, noticeably. A strong, active display with clear structure and fast movement gives you far more to work with than a faint, static glow sitting low on the horizon, and it also tolerates a wider range of camera settings without the shot falling apart.
I would check the current solar activity forecast before a big photography push on any given night, rather than treating every clear night as an equal opportunity. My explainer on solar activity and aurora forecasts covers the Kp index and why the current run of years is unusually favorable for strong, photogenic displays, which is genuinely useful context before you plan a photography-focused trip.
Should I Bring a DSLR or Just Rely on a Guided Photography Tour?
If photography genuinely matters to you and you already know how to use a camera manually, bring it. If you would rather actually watch the display instead of fumbling with settings in the cold, I would book a tour that includes a professional photographer as part of the price.
The Tromso Northern Lights Chase Tour, the real option I would point you to on this site, includes a professional photographer who shoots the group under the lights and helps with your own camera settings if you brought one, so you get usable photos either way without needing to be the one operating the gear all night.
How Do I Photograph the Aurora and Still Enjoy Watching It?
Set your camera up once the display starts building, lock in a starting exposure, and then step back from the viewfinder for long stretches rather than chimping the screen after every single shot.
I would treat the camera as a background task, not the main event. My honest experience watching other travelers on aurora tours is that the ones who spend the whole display staring at a phone screen checking their last shot end up with fine photos and almost no actual memory of what the sky looked like, which feels like a bad trade to me.
What Time of Night Gives the Best Photography Conditions?
The window roughly between 10pm and 2am local time tends to produce the most active displays, though this varies night to night and is really driven by solar activity and cloud cover more than the clock itself.
I would not treat this window as a guarantee, only as a reasonable starting expectation for when to have your camera ready rather than packed away. A guided tour that stays out into these hours, like the longer chase-format tours featured on this site, genuinely improves your odds of catching the display at its most photogenic simply by being outside during the statistically stronger part of the night rather than calling it an early evening. Moonlight is worth factoring in too: a bright full moon washes out fainter displays in photos even when the aurora is technically active, so a new-moon week is a small but real advantage if your trip dates are flexible. → See current availability
My Honest Photography Recommendation
If you already shoot manually and enjoy the process, bring your gear and use the settings above as a starting point, then adjust based on how the display looks that specific night. If photography is not your hobby, I would not stress over buying new equipment for one trip.
My real recommendation for most travelers is to book a tour with a photographer included, watch the sky with your own eyes for most of the night, and let the professional shots cover the memory-keeping part. The Tromso Northern Lights Chase Tour does exactly this, and I think it is the better call for anyone who is not already a confident night photographer.
Frequently Asked Questions
What ISO should I use to photograph the northern lights?
Start around ISO 1600 to 3200 and adjust down if the display is bright or up slightly if it is faint, balancing noise against how much light you actually capture.
Can I photograph the aurora on my phone without any accessories?
You can with night mode, but a small tripod or a stable brace point noticeably improves sharpness, since even a few seconds of handheld shake blurs a long-exposure shot.
Do I need a professional camera to get a good aurora photo?
No. A modern phone with night mode, braced steadily, produces usable results, and a guided tour’s included photographer covers the rest if you would rather not manage a camera yourself.
Why do my aurora photos look brighter than what I actually saw?
A long-exposure camera collects light over several seconds, which is why photos often show more vivid color than the naked eye sees in real time. My guide to what the aurora really looks like covers this expectation gap in more depth.